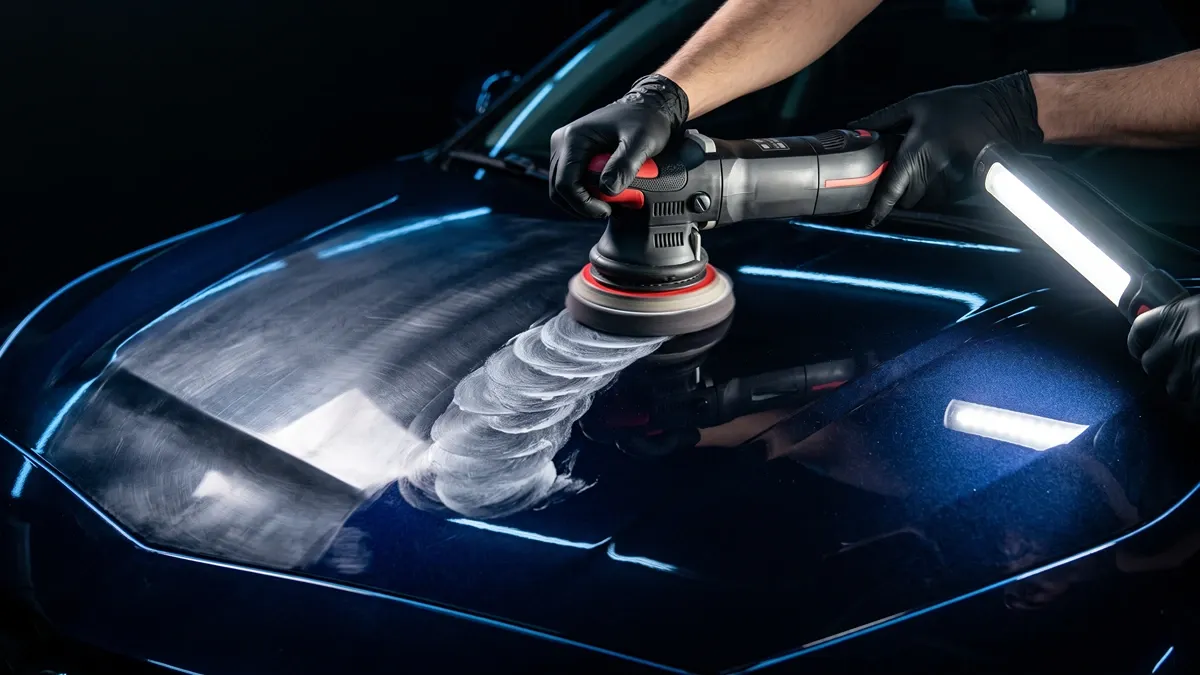

What is Spring Detailing?
Spring detailing is a full decontamination and restoration service performed after winter driving damage. It typically includes a proper two-bucket wash, chemical and mechanical decontamination (iron remover and clay bar), paint correction to remove swirls and etching, and application of a protective coating or sealant. The goal is to reverse months of road salt, brine, and contamination buildup before it becomes permanent.
Winter Is Hard on Your Vehicle
If you’ve been driving on Long Island between November and March, your vehicle has been through road salt, brine spray, freezing rain, and parking lot grime. Even if it looks okay from a distance, the damage is accumulating under the surface.
Spring is the time to reverse that, before the warm months bake everything into the paint permanently.
Here’s the checklist we recommend to every client.
Step 1: Full Exterior Wash (the Right Way)
Skip the automatic car wash. Those spinning brushes drag dirt across your paint and create swirl marks. Instead:
- Pre-rinse the entire vehicle to loosen heavy contamination
- Foam cannon or two-bucket wash with a pH-neutral car shampoo
- Work from top to bottom: the dirtiest areas (rocker panels, wheel wells) get washed last
- Dedicated wheel brush and wheel-safe cleaner for brake dust buildup
- Dry with a clean microfiber towel or a forced-air blower. Never let it air dry.
This removes the surface layer, but it won’t address what’s bonded to the paint.
Step 2: Chemical Decontamination
Road salt and industrial fallout don’t just sit on top of the paint. They embed themselves into the clear coat. A standard wash won’t remove them.
Iron decontamination
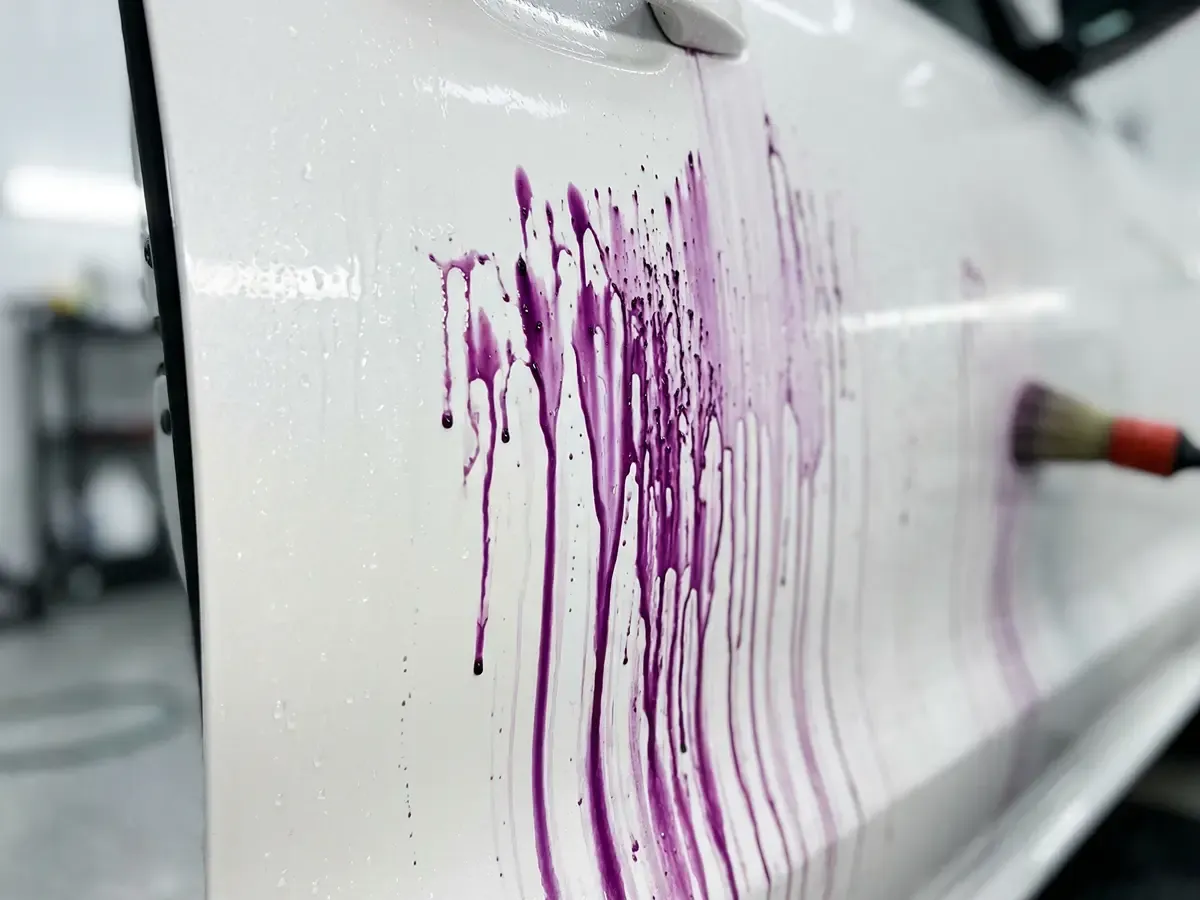
Spray an iron remover across all painted surfaces. You’ll see purple or red bleeding where ferrous particles react with the solution. Those are brake dust and rail dust deposits that have been slowly corroding your clear coat all winter.
Clay bar treatment
After the iron remover, run a clay bar or clay mitt across every panel. This mechanically pulls out any remaining embedded contamination: tree sap residue, tar spots, mineral deposits.
Your paint should feel glass-smooth after claying. If it doesn’t, you missed a spot.
Step 3: Inspect the Paint
Now that the surface is clean and decontaminated, you can actually see the paint’s real condition. Look for:
- Swirl marks: circular scratches visible under direct light
- Water spots: mineral deposits etched into the clear coat from dried salt water
- Oxidation: dull, chalky areas where UV has started breaking down the clear coat
- Chips and scratches: exposed primer or bare metal that will rust if not addressed
If you see any of these, the next step is paint correction before you apply any protection.
Step 4: Paint Correction (If Needed)
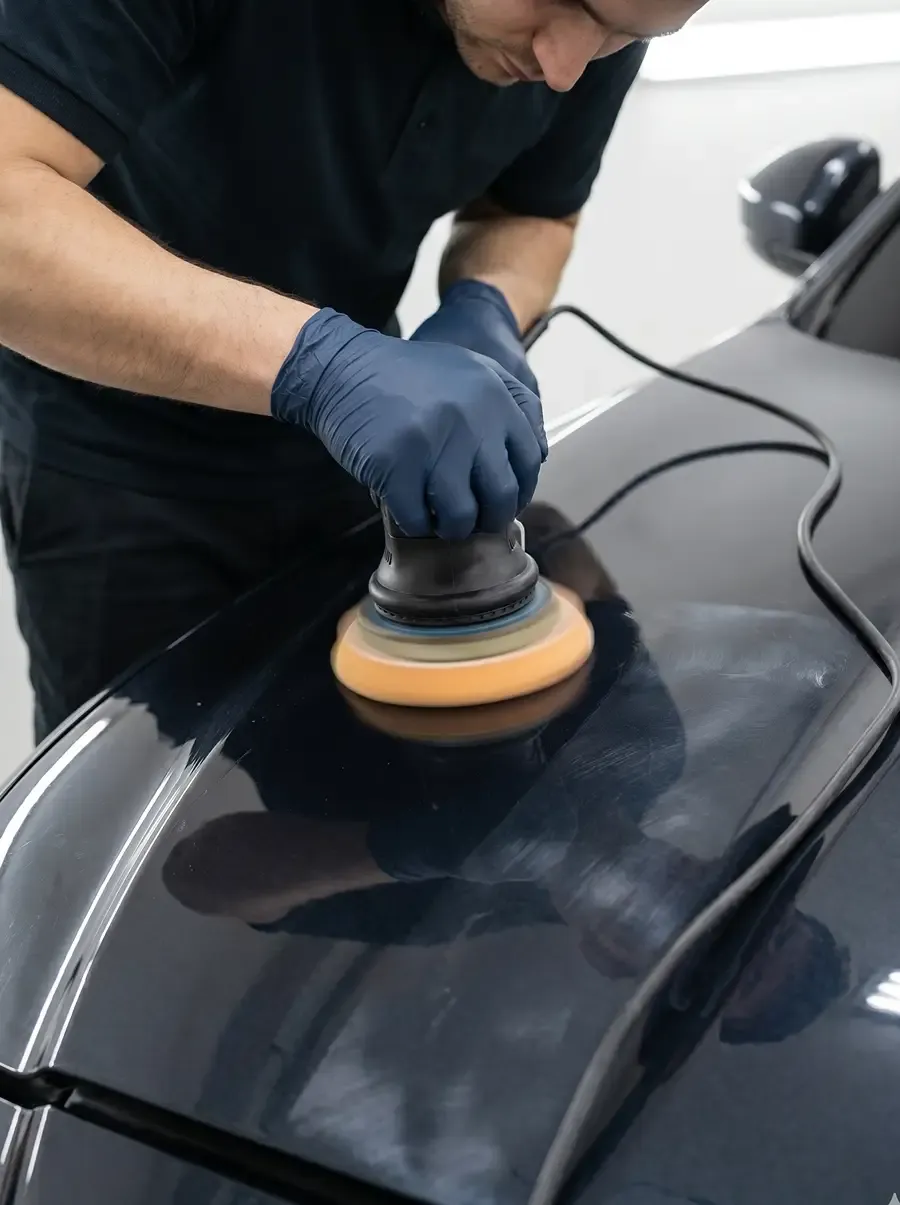
Paint correction is machine polishing, using a dual-action or rotary polisher with specific compounds and pads to level the clear coat and remove defects.
This is where most DIY detailers should stop and call a professional. Incorrect technique or too much heat can burn through clear coat permanently.
A proper correction typically involves:
- Compounding: aggressive cut to remove deeper scratches and oxidation
- Polishing: finer cut to refine the surface and remove compound haze
- Jeweling (optional): ultra-fine polish for maximum clarity and gloss
How many of those passes your paint actually needs is what separates a single-stage job from a two-stage one, and it is the main thing that moves the price. Our guide to paint correction levels breaks down what each level removes.
The result is paint that looks better than it did when the vehicle was new.
Step 5: Protect the Paint
Once the paint is corrected, you need to lock in the results with a protective layer. Your options:
Ceramic coating (long-term)
If you want to do this once and not think about it for years, ceramic coating is the answer. It bonds to the clear coat and creates a hydrophobic, scratch-resistant barrier.
Paint sealant (medium-term)
A synthetic sealant lasts 3–6 months and provides solid protection. Good option if you’re not ready to commit to a full ceramic coating.
Wax (short-term)
Traditional carnauba wax gives a warm, deep gloss but only lasts a few weeks. Fine for weekend cars or show prep, but not practical for daily protection.
Step 6: Don’t Forget the Interior
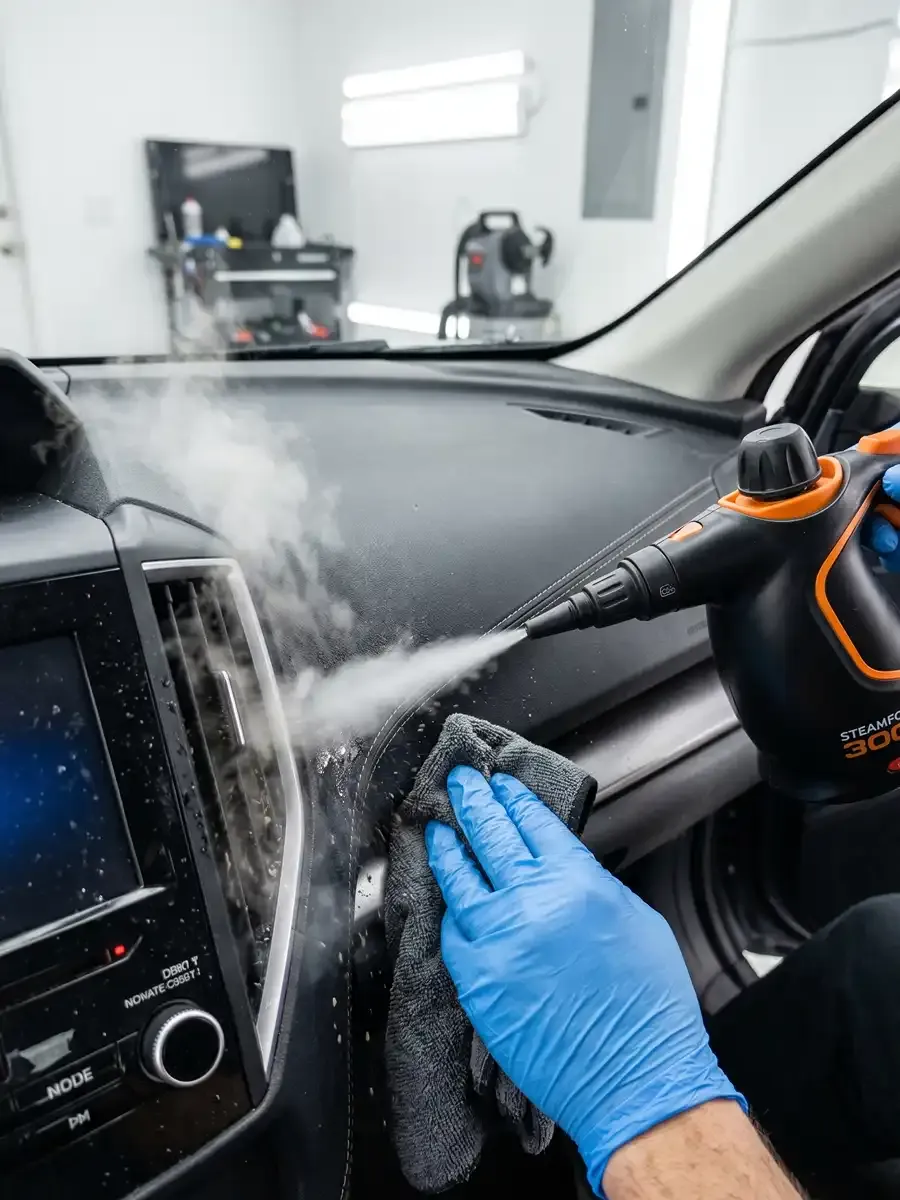
Winter takes a toll inside the cabin too:
- Salt stains on carpet and floor mats: hot water extraction removes these
- Leather conditioning: cold air dries out leather; reconditioning prevents cracking
- Glass cleaning: interior film buildup from offgassing reduces visibility
- Vent and crevice cleaning: dust and debris accumulate in vents, cup holders, and seams
A full interior detail in spring resets the cabin and prevents long-term material degradation.
Step 7: Address the Undercarriage
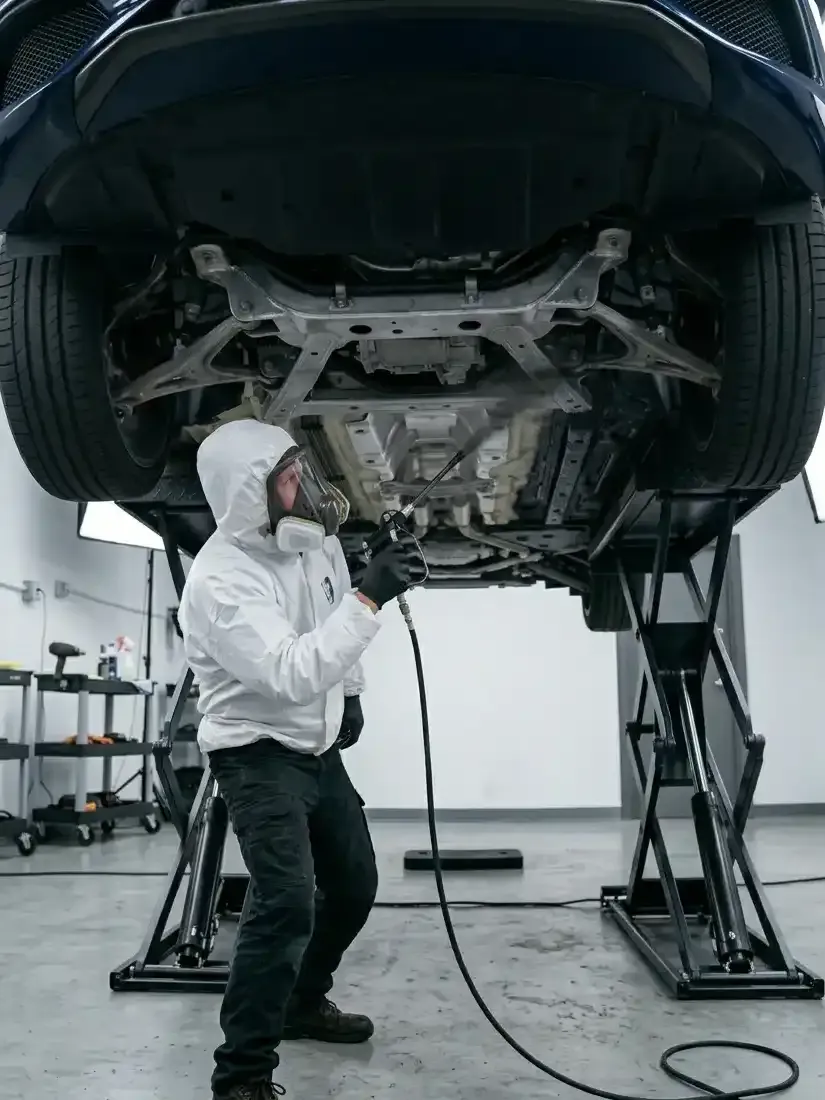
This is the most overlooked step. The underside of your vehicle takes the most direct salt and brine exposure all winter. If you don’t rinse it off, corrosion accelerates through spring and summer.
At minimum, get a thorough undercarriage rinse. For ongoing protection, consider an undercarriage rust protection coating, a rubberized treatment that seals out moisture and salt before the next winter hits.
The Bottom Line
Spring detailing isn’t just about making your vehicle look good (though it does). It’s about removing corrosive winter contamination before it causes permanent damage, correcting paint defects while they’re still reversible, and applying protection before summer UV makes everything worse.
The earlier in spring you handle this, the better the outcome. Salt doesn’t stop eating your paint just because the roads are clear.